Overview
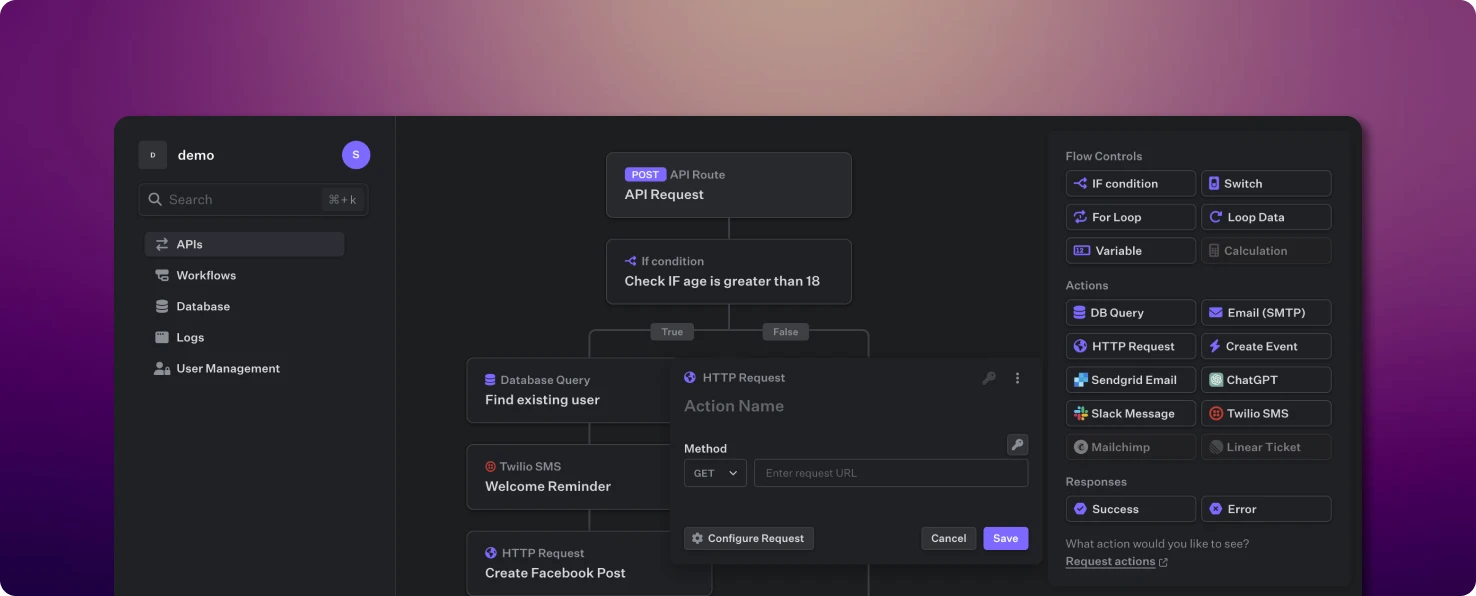
The API builder is the heart of the Fastgen platform and enables you to quickly create any kind of REST API. For each endpoint you can configure unqiue Authentication and Validation rules.Action Panel
You build your APIs through a drag and drop action panel which provides you with:- Flow Controls
- Native Actions
- Integrations
- Responses
Flow Controls give the API structure and specify what it should execute depending on the data that is received.
Let’s build an API
Create
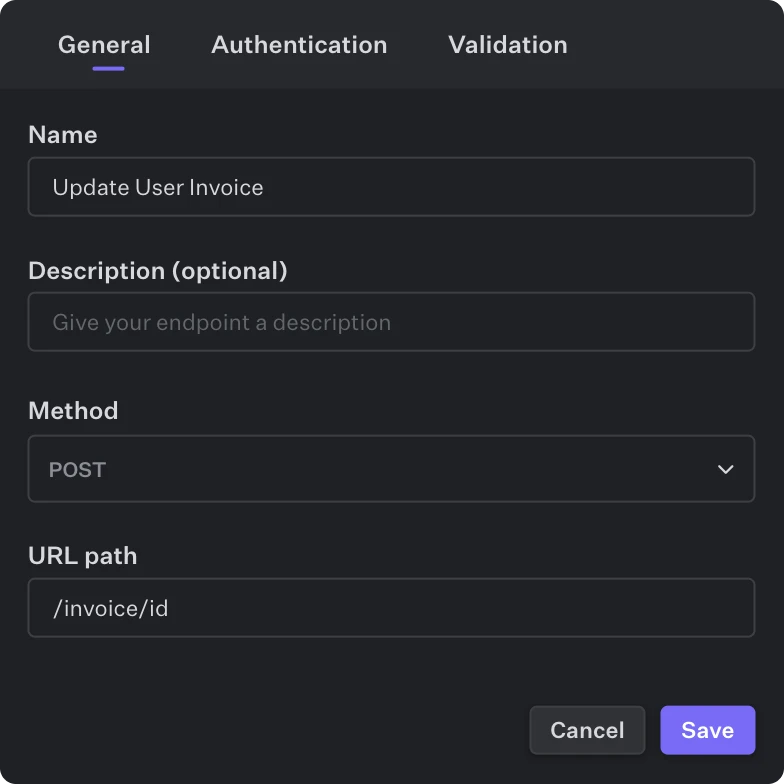
Select APIs in the left sidebar and click the Add route button.From here, you can specify the HTTP method and choose from GET, Create (POST), Update (PATCH) or DELETE.Each API starts with the , which lets you specify the settings and modifications of the specific endpoint you are about to create.Besides name and URL path, you can specify Authentication and Body Validation for this endpoint:

Debug
Use the Debug Mode to directly send test requests to see if the API is executing what you want it to.Each execution of a test request will be visualized and stored for you to quickly understand which actions were executed and which weren’t.You can modify the Body & Header data, as well as the Authentication & URL parameters for each test request.
Body Validation
Body Validation is useful for ensuring that data transmitted in API requests adheres to specific criteria. By validating the request body, you can maintain the integrity and security of your API and safeguard it against invalid or malicious data. TheValidation tab, located at the topmost action in a route, enables you to validate JSON data within incoming API requests. If the body of the request fails to align with the specified validation schema, the request will be immediately terminated.
General structure
The schema is defined using JSON syntax, with each key corresponding to a JSON key in the request body. Each value in the schema must be an object that includes, at a minimum, the type key, which can be one of the following: number, string, list, or object. Various keys are available for data validation, depending on the chosen type.Numbers
To validate numerical values, use thenumber data type. The required key in the validation schema specifies whether a particular field is mandatory or optional and required can be set for all data types:
Text
To validate text values, use thestring data type. You can specify additional validation rules, such as a regular expression pattern or minimum and maximum length constraints:
Object
To validate text values, use theobject data type. The objectValidation key can then be used to further specify the expected schema for each nested property within the object:
List
To validate list values, use thelist data type. You can specify minimum and maximum length constraints, as well as validation rules for each item within the list:


